Homemade Sourdough Part 1: How To Make A Starter
Sourdough bread might seem like the most daunting of bread. But don’t fear – it’s not as tricky as it seems! It’s just time-consuming. Here’s a step-by-step process to make the bread of all bread. This is a two-part series: this first blog teaches you how to make a sourdough starter from scratch, and the second teaches you how to bake the bread. Follow along to learn how to make amazing homemade sourdough.
How To Make A Sourdough Starter
Unless you have a starter from someone/where else, you’ll need to make a starter yourself. This takes 5+ days, so be sure to set some time aside each day for this.
First, what is a starter?
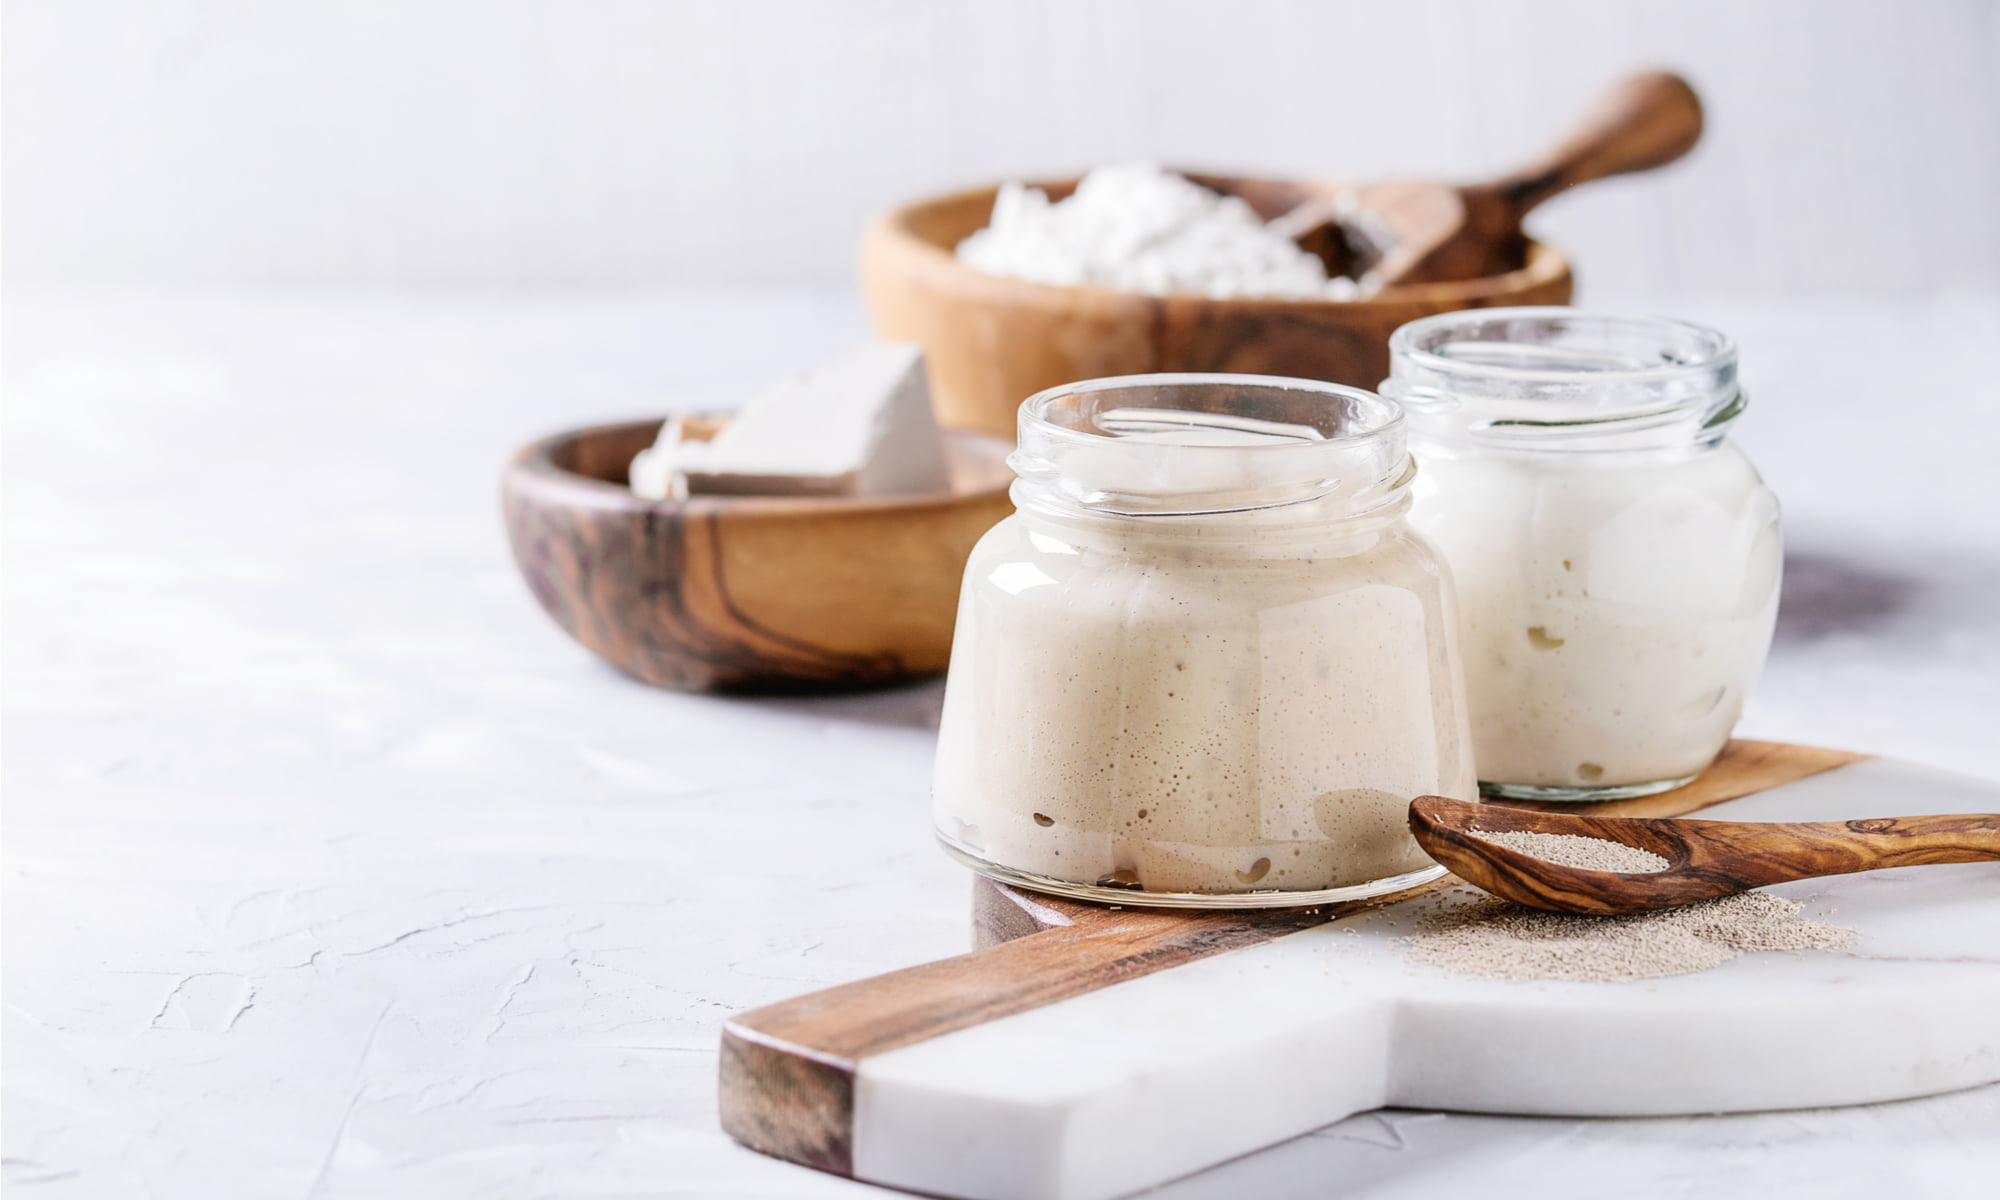
But first, what is a “starter”? It’s how we cultivate wild yeast – the yeast that lives in the air, on our hands, on the flour, and everywhere around us – into a form we can use for baking. A starter is a mix of flour and water, and the process of letting it sit for several days to “capture” the yeast. Each day, you must “feed” the starter with more flour and water. It sounds weird, but it’s necessary.
Day 1: make the starter.
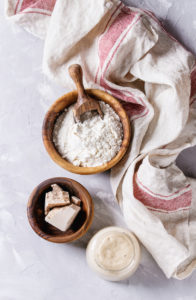
To start your starter, you’ll need:
- ¾ cup + 2 tbsp all purpose flour
- ½ cup room temperature water
Combine the flour and water in a large bowl and stir with a wooden spoon. Stir well until it looks like a thick liquid. Scrape the sides and cover with plastic wrap, and secure it with a rubber band or tie. Put the starter somewhere relatively warm and dark (like the top of your fridge!) and let sit for 24 hours.
Day 2: feed the starter.
- ¾ cup + 2 tbsp all purpose flour
- ½ cup room temperature water
Check out your starter. It may have a few bubbles – this is a good thing! This means that the yeast is happy. If you don’t have bubbles though, no fear. It may take a bit longer to start depending on a variety of factors (eg. Temperature of your kitchen). Either way, make your starter happier by giving it some food.
Repeat the same steps as Day 1. Add the flour and water to your bowl and mix well with your wooden spoon to combine. It should look like a sticky dough. Scrape the sides, reseal your bowl, and place the starter back in its dark, warmish spot. Let it sit for 24 hours.
Day 3: feed the starter. Again.
- ¾ cup + 2 tbsp all purpose flour
- ½ cup room temperature water
Your starter should be bubbly, with both large and small bubbles, and should have grown a bit in size. Again though, if its not bubbly, don’t worry – they will happen. Like before, add your flour and water and mix with your wooden spoon. Cover and return the beginner starter to its cave for another 24 hours.
Day 4: you know what to do.
- ¾ cup + 2 tbsp all purpose flour
- ½ cup room temperature water
On the fourth day, it should start to smell pungently sour and vinegar-y. It should also have grown nearly double in size and should be a bit looser than the day before. It shouldn’t be too drastically different from day 3, but it should be smellier and looser – all great signs. Once again, add your flour and water and mix well with a wooden spoon. Cover and return to its dark kitchen grotto.
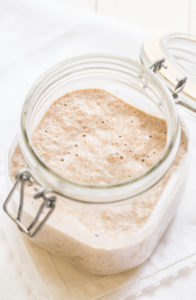
Day 5: YOU DID IT! Your starter has started.
At this point your starter should have grown significantly in size. It should be bubbly and almost frothy. It should also smell sour and kind of like, uh, sourdough. It’s technically ready to bake at this point, but if you want it to have extra-sourdoughy flavour, keep feeding it. If you want to keep feeding it, read on. If you want to go ahead and bake it, skim down to the “bake” section.
Day 5+.
- ¾ cup + 2 tbsp all purpose flour
- ½ cup room temperature water
Discard half the starter and add the flour and water. Mix well with a wooden spoon, cover tightly, and – if you plan to use it within a few days – return it to its cave spot. If you plan to use it longer than a few days, cover tightly and add to the fridge. Don’t worry, the cold won’t kill the yeast, it just slows down its growth. When you’re ready to bake again, say after a week, discard half and add more flour + water. Once mixed, keep it out of the fridge for a few hours or overnight so the yeast can start back up again before you cover and cool it again.
Once you’re ready to bake, read up on our How To Bake Sourdough Bread blog post!
P.S. If you’re more of a visual learner, here is a YouTube video that I found helpful when learning about how to make a sourdough starter: https://www.youtube.com/watch?v=I1Ssdzk6uhI
Related Posts